Posts

Carburetor and Wiring Pt. 2

Image
I researched what size jets I should be running with POD filters and a 4into1 exhaust.  I came across a great channel on YouTube called TheMotorcycleMD .  He specializes in vintage Hondas and has an awesome array of service videos.  In one of them he addresses how to tune the carbs when running POD filters and happens to mention the jets and setup for carburetors on a 1981 CB750K (thats what I have!).  You only need to open up the primary and secondary main jets.  The primary goes from stock 68 to 80 and the secondary goes from stock 102 to 116 (the closest one I could find is 118).  I got these from Randakks as well.   Jumped into the totally-not-panic-inducing carburetor rebuild.  I separated the bodies and disassembled each carb, making sure to cleanly organize each one.  I broke them down until every metal piece was free of any rubber/o-ring.  One carb at a time I dipped all the metal components into a carb cleaning dip for ...

Finished Engine and Wiring

Image
Finally got around to finishing up the engine.  Used a feeler gauge to measure the gap between the cams and the shims.  Ordered a valve shim tool to push the buckets down.  Used my wife's tweezers to pick out the shims.  Measured them with some calipers to compare them to the spec, which is .06 - .13mm.  You annoyingly have to put them all back in to keep measuring them so the cams dont damage the buckets.  Putting them back is NOT as casual and fun as the online videos make it look... The shims are a pretty tight fit so they kept sliding past the buckets instead of seating.  There was only 1 out of 16 shims that was barely in spec, but none of them were shockingly out of spec  indicating something scary, just normal wear for a 40 yr old engine. I went ahead replaced all 16 shims to land mid spec around .09mm.  To calculate each shim size you subtract your desired gap (.09mm) from your measured gap, add that to the measured shim and then ro...

Exhaust and Front Brakes

Image
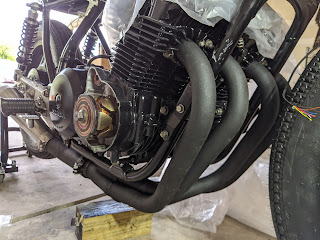
  DHL/USPS finally found my parts!  I had been waiting for over two months, so obviously I was stoked to get them.  I was working on valve shim adjustment and carb tuning when they showed up and immediately got pushed to the front of the line.  I went with MAC headers and an Italian made Spark Performance muffler.  This combo seemed to be the go-to for high end CB750 cafe builds.  The headers were a little hard to find as all of their distributors were out of stock, maybe due to COVID supply chain issues, but I was able to find a full exhaust set on eBay.  I cut the included muffler off of the link pipe.  I'll just sell the MAC muffler that came with it. As you can maybe tell from the scratched up frame, installing the headers wasn't as simple as I had hoped.  The MAC installation instructions told me to use the wrong exhaust clips that pushed the exhaust flanges into the frame.  Welp, this is why I chose to paint it; "easy" t...

Finished Tank and Electrical Install

Image
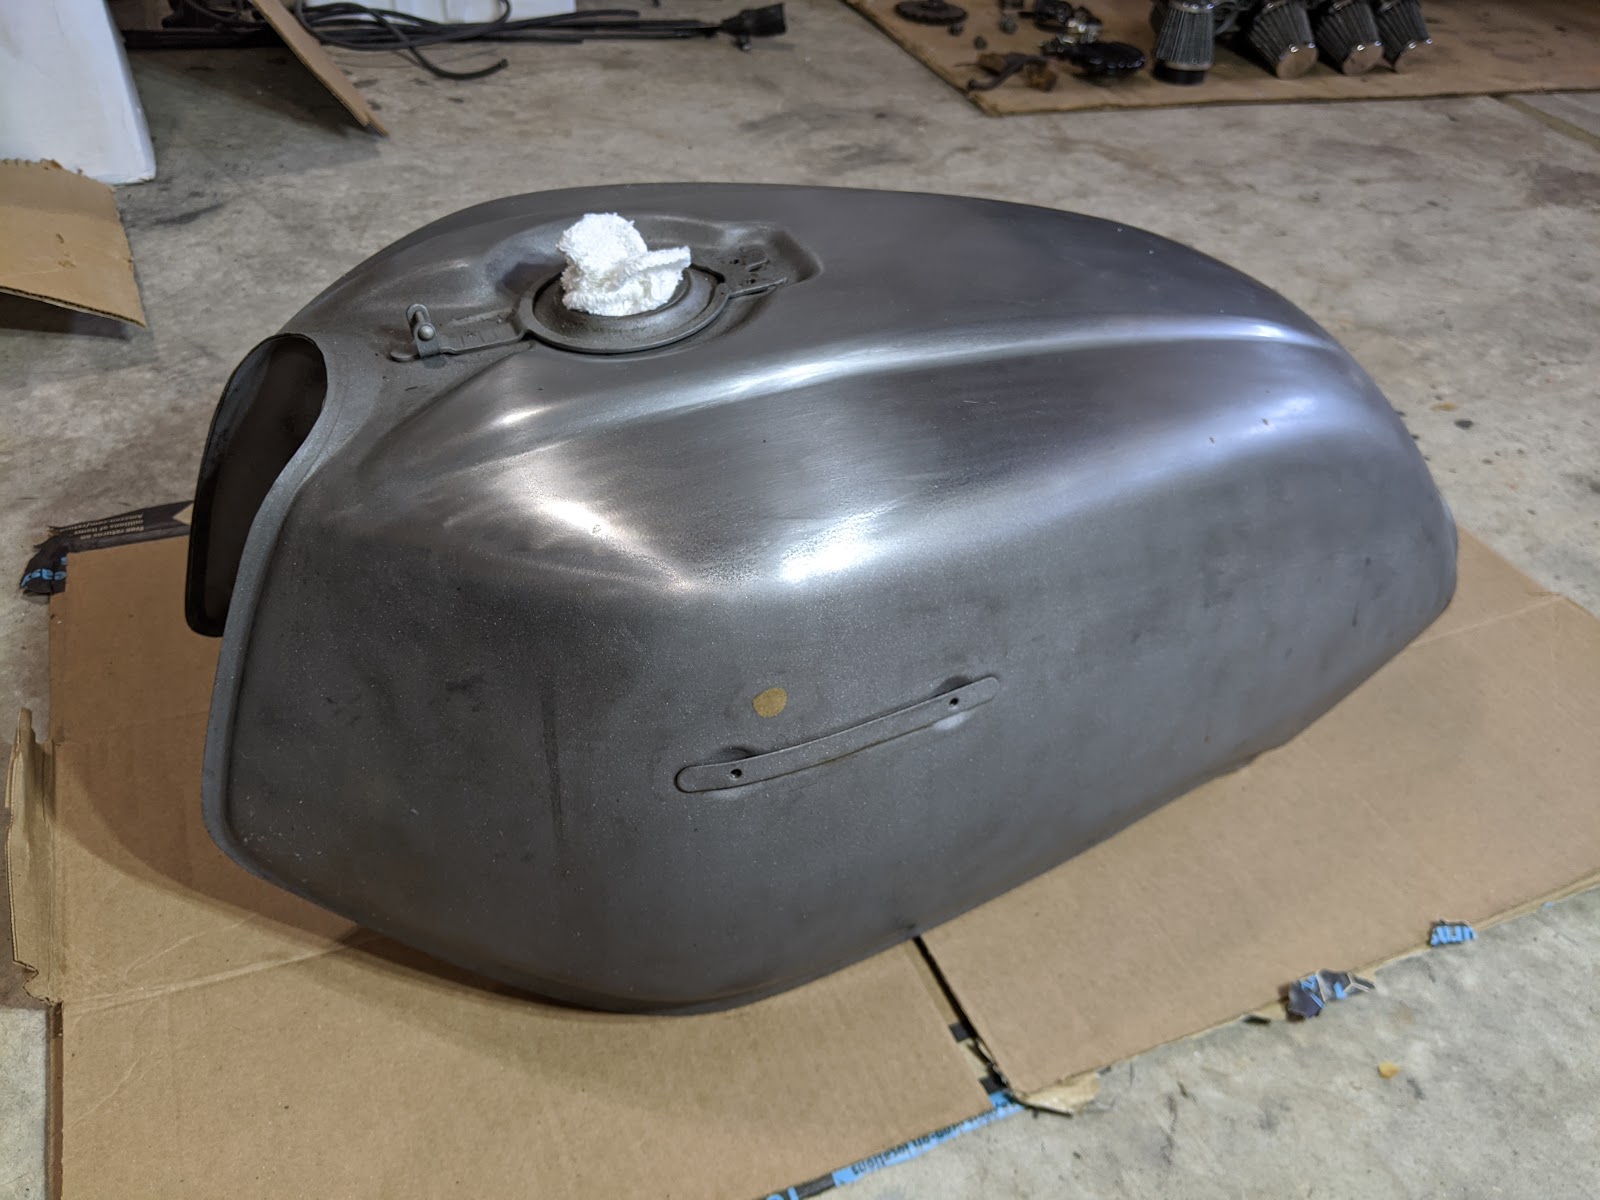
Sandblasted | 180 Grit | 1000 Grit After lots and lots and lots of sanding and some clear coat, I finished the tank and cowl.   I decided to go with the raw steel look despite the brass plug and the minor dents, it gives it character, or something like that... I wanted a semi polished brushed finished, which means lots of directional sanding to get the right 'brushed' orientation.  I took it to Ben's V-Twins where Ben generously let me use his sandblaster to blast the remaining paint off the tank and get a uniform surface. I wet sanded with a mix of water and WD-40 starting with 180 grit. I went to 320, 400 and stopped at 1000.  I left the underside with a sandblasted finish.  Sanding and cleaning the tank revealed quite a bit more minor surface flaws from the manufacturing process that I didn't notice when it was rough and dirty (++character).  After sanding I cleaned it thoroughly with acetone and compressed air.  Then I put on 3 coats of Ru...

Engine Install and Electrical Schematic

Image
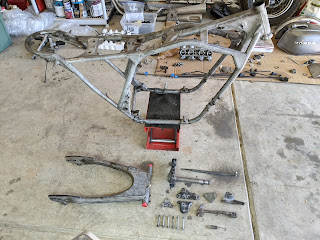
Sandblasted the frame, swing arm, steering column and some other things.  The blaster was acting up so it didn't turn out perfect but it got most of the paint and rust off, and most importantly was  free .  The metal information badges were carefully removed.  We grinded off a couple more unnecessary brackets, welded up some rust holes and smoothed the frame out.  The rear brake switch was visible from the side profile of the bike so the switch bracket was cut off and welded in line with a frame tube removing it from sight.  The steering bearing races were punched out and the lower bearing was removed (forcefully) from the steering column.   I debated whether to powder coat or paint the frame.  Powder coating would be a little more robust but I would need to send it out ($$$) and wait.  I felt pretty confident that if I took my time and did it properly that paint could look great.  I was more swayed by the fact that I had...