Engine Rebuild and Parts Update Pt. 3


Engine Cylinder Head


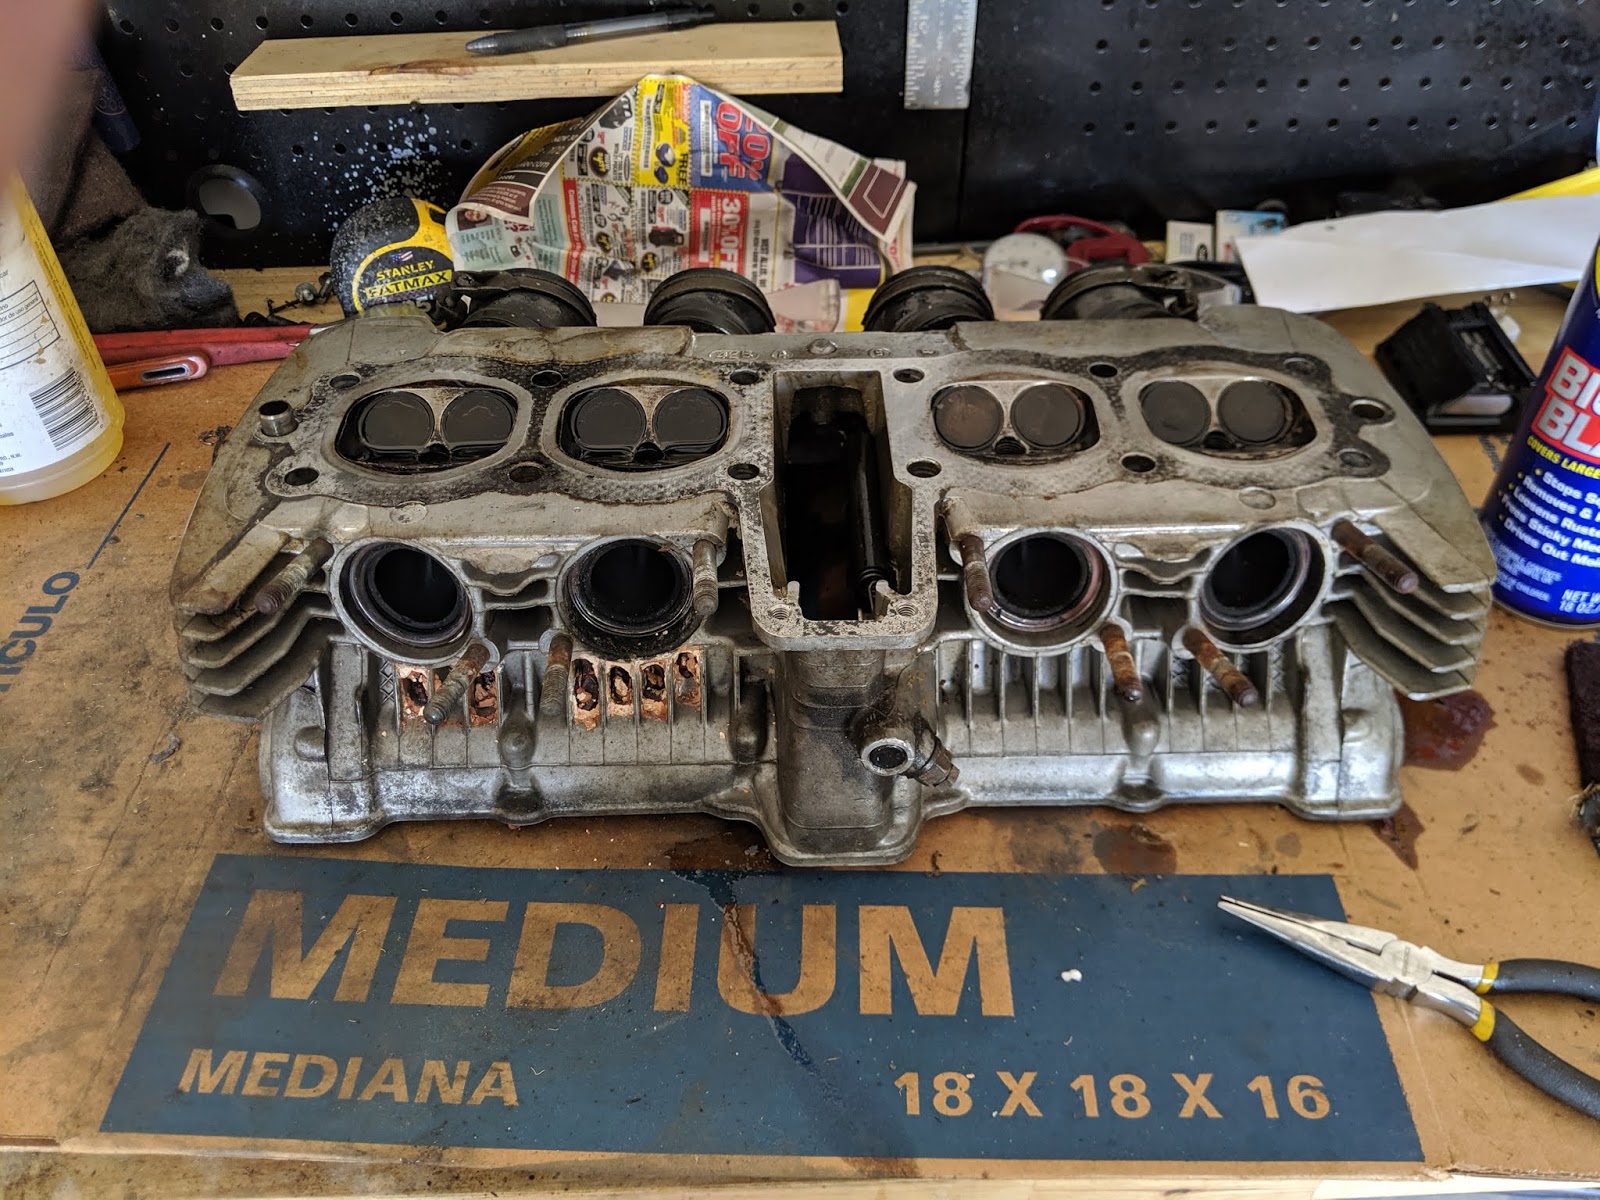
I got the engine cylinder head back from glass beading and a full valve job. It's unfortunately no longer a metal hotel for setting up dirt dauber nests. Then I primed and painted it to match the rest of the engine. New exhaust gaskets make great paint masking plugs when you tape them up. Threw on a new gasket and installed the cylinder head with the oil pipe. Then I started the nerve racking experience of installing the cam shafts and setting the timing.

 |
| Not Today Satan! |
You know its scary when the engine bible repeatedly tells you "very expensive damage" can occur. Seriously; it warns you after almost every step of the process. I installed the exhaust cam, set the mechanical timing and torqued down the annoying-to-get-to cam sprocket. Things were going suspiciously smooth up until I snapped a bolt off into the engine trying to torque the cam holder bolts... son-of-a... welp. Nothing like that pit in your stomach when you suddenly feel the bolt get looser while tightening it. Using a center punch, a tiny drill bit and a new screw extractor, I got the stud out. (I write some of these blog posts before I actually do the work, so I really hope it went like that...it did. phew.) After getting that out, breaking two more bolts, figuring out my torque wrench isn't spec'ed to go that low, buying a new torque wrench, ordering new bolts and making sure to torque VERY SLOWLY, I got the cam shafts installed. The last thing on the engine is to check the valve shim clearance. That doesn't have to be done before the engine is installed, so if the frame is painted soon I may do that first.
 |
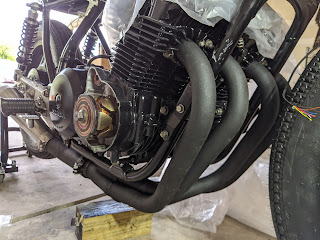
| Installed Top End |
My Shinko E-270 tires showed up Saturday evening and immediately impatience began to grow... Nobody open on a Sunday would do motorcycle tires. I wanted to mount them as i've been growing fond of the aluminum wheels and was curious if i'd feel the same with the fatter tires. I wasted money on some tire irons and oh my God is changing a tire miserable. I angrily cut off the old dry rotted front tire and promised the devil my unborn child if I could get just one lip on to see how it looks (Sorry Kellen). I gave up on mounting the tires FAST and had Ben at Ben's V-Twins finish up the job. Aluminum/unpainted wheels were pretty goofy looking so this is where I tell you I took them off, preped the surface and powder coated the wheels satin black. Well, that is the plan... but there was no way I was waiting till then. I pressure washed the wheels and plastidipped them black.

It was my first time using plastidip and I was pretty impressed. These tires really transform the look of the bike. I wasn't sold immediately though; sometimes every change doesn't instantly result in that "oh yeah!" feeling, but sometimes you have the trust the plan and move on. But only after about a day I was pretty stoked on the look. It adds a lot of heft correctly offsetting the bulkiness of the tank and the engine. The kickstand was too tall after lowering the bike but luckily the added height from the tires lets me use it again without modifying the length.

I was debating on what kind of mirror/s I wanted to do to satisfy NC requirements. Bar end, top/bottom, left or/and right, black/chrome etc. I didn't want to clip on something on the outside of the grips and with the bar end turn signals I could't fit them in the end easily. I saw some mods to do it but they look sort of clunky. Then I saw some awesome bikes from Roa Motorcycles that had mirrors that reached from clip-ons mounted to the inside of the bars. I did the same and went with one high polished aluminum Motogadget mirror on the left side; if that's truly usable I'll just keep the one as I think it looks cleaner.
 As you probably saw in the above pictures I put the badges back on and added the original gauge cluster badge to the bridge top. I'm not married to the badges staying on there, but they were part of my original "honda's caferacer" build theme. I polled the internet and Facebook (mostly personal friends) was heavily "no badge" while Instagram (mostly motorcycle aficionados) was heavily "badge", which was interesting. Not a hard thing to put on and remove so this may always stay in a state of flux.
I also got in the m-unit, antigravity battery and ordered a Rick's regulator/rectifier. I found out recently that you really should get a new regulator/rectifier for lithium ion batteries to prevent overcharging. That's about all I need for the layout of the electronics tray so ill be working on the wiring harness soon. I think I said that last time? Whatever, closer everyday!

I also got in the m-unit, antigravity battery and ordered a Rick's regulator/rectifier. I found out recently that you really should get a new regulator/rectifier for lithium ion batteries to prevent overcharging. That's about all I need for the layout of the electronics tray so ill be working on the wiring harness soon. I think I said that last time? Whatever, closer everyday!


Comments
Post a Comment